DRAWING 101
Hatching
Module 2 - Evaluation
Now that we have explored a couple of hatching techniques that can be used within a drawing composition, let's evaluate what you have learned from this module. This evaulation will be a combination of a discussion activity, true or false assessment, and a drawing assignment utilizing one or both hatching techniques.
Discussion.
(5pts)
In our last module we finished with an assignment on sketching three objects found in your environment. In this module, I want you to share your work with your classmates. What good is drawing a masterpiece if there is no one to see it? Well, here's your chance to be a star!
Upload your three sketches from Module 1 for your peers to view and critique. You must critique at least two classmates' compositions.
Formative Assessment:
Let's See What You've Learned.
(5pts)
Let's test your understanding of the material discussed in the lecture on hatching. Click "start" on the quiz below and see if you can pass this simple test. You must achieve an 80% to pass.
Good luck!
Summative Assessment.
(10pts)
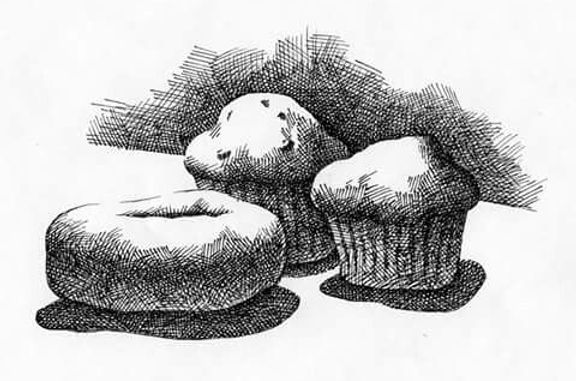
This is an example of a still-life sketch that has been rendered with depth by utilizing cross-hatching. Notice that the light source is definitively coming from the top center of the objects. You can have your light source come from the top left, center, or right in order to project a shadow side on the objects. It is your choice. Using a lamp can help in creating this.
This module explored the technique of hatching and cross-hatching and how these drawing techniques can be used to refine a sketch by adding depth to the subject. Now, let's put our knowledge of hatching to good use! Using the hatching techniques explained in this module, apply them to the same three still-life items from Module 1 using your sketchbook and upload them for review.
It will help in defining the shadows of your objects by placing a light source on them, such as a lamp pointed directly at the objects at an angle. Also, be sure to use a 2B pencil or softer for this assignment as that will provide a darker line for the hatching.
Watch this quick video on placing your light source before you start drawing.
When you have finished, email them to me by using the email address in the footer below.
When you have finished, move on to the module summary by clicking the "next" button below.